How to Do an Outline Lip Shape in Lip Tinting
2025-06-24 04:24:01
,
Beauty health care
Master the art of the perfect lip blush outline. Our expert guide shows PMU artists how to define and shape lips flawlessly for stunning, long-lasting results.
Table of contents
- The Foundation of Flawless Lips: Why the Outline is Everything
- Your Professional Toolkit: Essential Supplies for Precision Outlining
- How to Do an Outline Lip Shape in Lip Tinting: The Artist's Step-by-Step Method
- Step 1: The Consultation and Lip Analysis
- Step 2: Mapping and Pre-Drawing the Perfect Shape
- Step 3: Numbing for Client Comfort
- Step 4: The Outline First Pass: Technique and Needle Choice
- Step 5: Securing the Border and Beginning the Fill
- Step 6: The Final Reveal and Aftercare Instructions
- Common Pitfalls and How to Avoid Them in Lip Blush Outlining
- Conclusion
- Frequently Asked Questions (FAQ)
A flawless lip blush procedure is a work of art, and its foundation is a perfectly executed outline. For new and aspiring PMU artists, mastering this initial step is the difference between a good result and a breathtaking one. A crisp, symmetrical, and well-implanted border not only defines the shape but also prevents color migration and ensures the client leaves with the beautiful, defined pout they desire.
This comprehensive guide is designed for you, the professional artist. We will go beyond basic theory and provide a practical, step-by-step walkthrough of how to do an outline lip shape in lip tinting . From mapping and tool selection to needle technique and avoiding common pitfalls, consider this your new go-to resource for creating impeccable lip blush outlines.
If you’re new to the procedure itself, we also recommend reviewing the lip tinting process to understand how outlining fits into the full treatment.
The Foundation of Flawless Lips: Why the Outline is Everything
In permanent makeup, the outline isn't just a line; it's the architectural blueprint for the entire procedure. Getting it right is non-negotiable for several key reasons:
- Creates Symmetry and Balance: Few clients have naturally symmetrical lips. A well-drawn outline allows you to correct minor asymmetries, balance the upper and lower lips, and create a more harmonious facial appearance.
- Provides a Clear Boundary: It acts as a "container" for your shading work. This definitive border prevents you from accidentally working outside the desired shape and stops the pigment from blurring or migrating over time.
- Builds Client Confidence: A meticulous and collaborative pre-draw and a clean first pass show your client that you are a precise and skilled professional, putting them at ease for the rest of the procedure.
- Ensures Beautifully Healed Results: A properly implanted outline heals cleanly and crisply, forming the basis of a polished final look that lasts.
Your Professional Toolkit: Essential Supplies for Precision Outlining
Success begins with having the right professional tools on hand. Precision is key, so don't compromise on quality.
- Mapping & Pre-Draw Tools: A white gel pen, a sharp waterproof mapping pencil, and precise measuring tools like string and digital calipers are essential for creating your guide.
- PMU Machine: A reliable, low-vibration rotary machine gives you the control needed for delicate line work.
- Needle Cartridges: Your needle choice is critical. A 1RL (Round Liner) or a tight 3RL is ideal for creating crisp, clean lines without unnecessary trauma. Explore our guide to PMU needle configurations for a deeper dive.
- High-Quality Pigments: Use pigments specifically formulated for lips that heal true to color. Hivivi's pre-modified lip pigments are designed for stability and excellent retention, preventing cool or ashy healed outlines.
- Numbing Agents: A primary topical numbing cream for pre-procedure application and a secondary liquid numbing agent for use on broken skin are necessary for client comfort.
- Aftercare Products: Provide your clients with a high-quality aftercare ointment to protect their investment and ensure optimal healing.
How to Do an Outline Lip Shape in Lip Tinting: The Artist's Step-by-Step Method
This is where your skill and precision come together. Follow this professional method for a perfect outline every time.
Step 1: The Consultation and Lip Analysis
Before you touch the client's skin, conduct a thorough consultation. Discuss their aesthetic goals, lifestyle, and desired outcome.
Analyze their natural lip shape, noting any asymmetries, scar tissue , or areas with a weak vermilion border . Take clear "before" photos from multiple angles. This is also the time to perform a health screening and ensure there are no contraindications to the procedure.
Step 2: Mapping and Pre-Drawing the Perfect Shape
This is the most critical stage. Never start a lip procedure without a flawless pre-draw that the client has approved.
Use your mapping tools to find the center point of the lips (aligned with the nose and philtrum) and mark the highest points of the cupid's bow. Use calipers to ensure both sides are symmetrical . Draw the outline with your pencil, making small, correctable strokes. Pay close attention to achieving smooth, elegant curves from the cupid's bow to the oral commissures (corners).
Have the client sit up, smile, talk, and look at the shape in the mirror from every angle. Do not proceed until they are 100% happy with the pre-drawn shape.

Step 3: Numbing for Client Comfort
Once the shape is approved, apply a primary topical numbing cream over the lips and cover it with plastic wrap for 20-30 minutes , per the manufacturer's instructions. This ensures the client is comfortable when you begin the most sensitive part of the procedure: the outline.
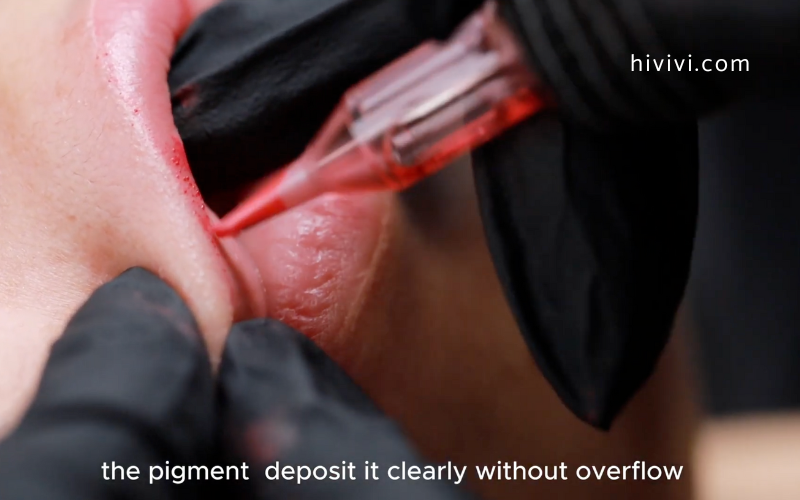
Step 4: The Outline First Pass: Technique and Needle Choice
Remove the numbing cream section by section as you work. Select your 1RL or 3RL needle.
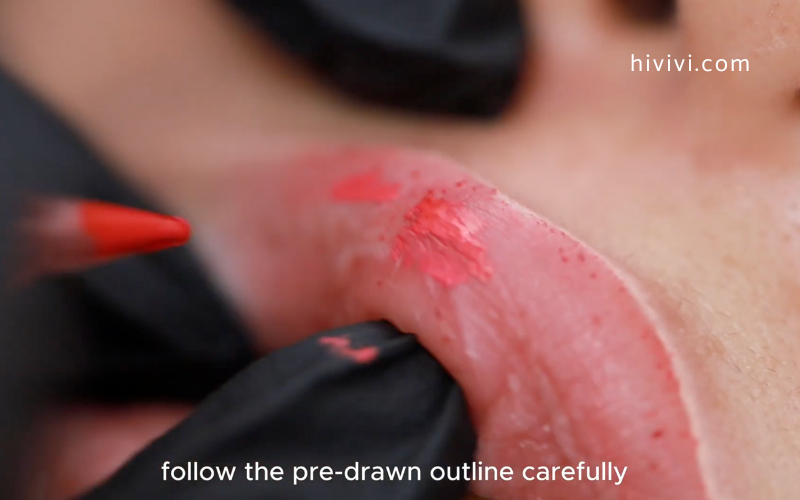
Your goal is a clean, consistent line implanted at the correct depth. Stretch the skin taut with your non-dominant hand to create a firm canvas. Using a medium machine speed and a fluid, consistent hand motion, trace over your pre-drawn line. The needle should just "skim" the upper layer of the dermis too shallow and the pigment won't stay; too deep and you risk migration and cool healing.
Wipe gently with a damp cotton round to check your work. You are aiming for a single, crisp pass to lock in the shape with minimal trauma.
Step 5: Securing the Border and Beginning the Fill
After the first outline pass is complete, you can apply a secondary numbing agent (for broken skin) to enhance comfort. This is also the time to begin your shading.
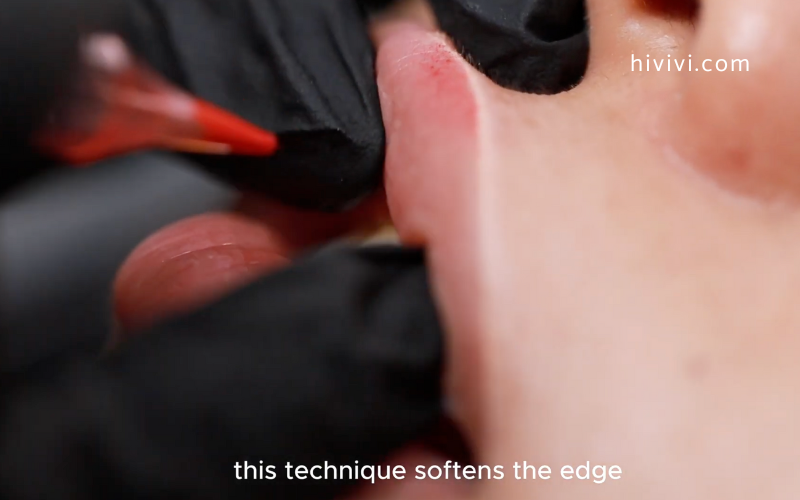
To create a soft, natural look, start your shading passes by working from the outline inward . This technique avoids creating a hard, disconnected “ring around the lips” effect.
If you’re also working on sensitive or hard-to-reach areas, our guide to tattooing inner lips provides specific tips to help ensure consistency and comfort.
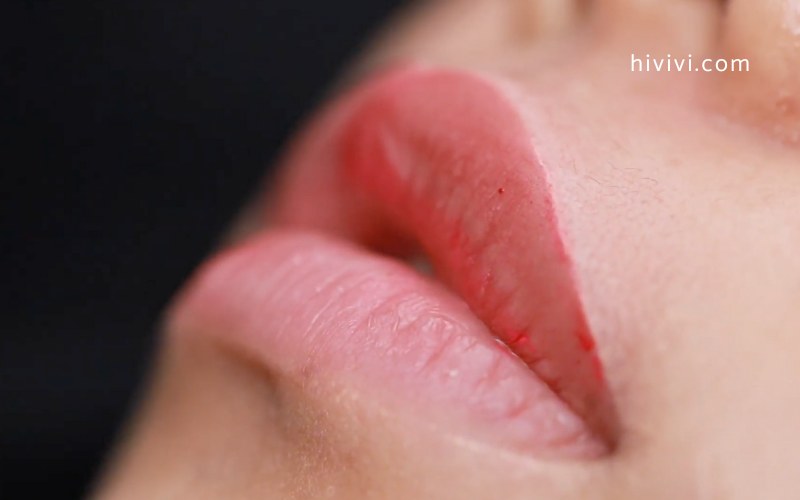
Step 6: The Final Reveal and Aftercare Instructions
Once the entire lip is saturated with color, perform a final, gentle wipe to clean the area. Show the client their beautiful new lips in the mirror.
The final step is to provide clear, concise aftercare instructions, both verbally and in writing.
Common Pitfalls and How to Avoid Them in Lip Blush Outlining
Even experienced artists can face challenges. Here’s how to troubleshoot some common issues with lip outlines.
- The outline heals too dark or "cool": This often happens from working too deep or using a pigment that isn't properly warmed. Always use a light hand for the outline and choose pre-modified lip pigments with warm undertones to ensure a vibrant, natural healed result.
- The "ring around the lips" effect: This occurs when the outline is implanted much darker or deeper than the rest of the lip and isn't blended properly. Always blend your shading from the outline inward to create a seamless transition.
- Poor pigment retention in the outline: The vermilion border can be tricky tissue. Ensure you are getting a proper three-point stretch on the skin and that your needle is entering at a 90-degree angle for optimal pigment deposit.
- Managing swelling: Swelling can distort the shape as you work. Work efficiently and use a secondary numbing agent with a vasoconstrictor (like epinephrine) to help control swelling and bleeding, allowing you to see your work more clearly.
Conclusion
Learning how to outline lip shape in lip tinting is a fundamental skill that elevates your artistry and sets the stage for every successful lip blush procedure. By focusing on a meticulous pre-draw, choosing the right tools, mastering a gentle outlining technique, and understanding how to blend seamlessly, you will consistently produce the defined, symmetrical, and stunningly beautiful results your clients are looking for. Practice your technique, trust your process, and you’ll build a reputation for creating perfect pouts
Frequently Asked Questions (FAQ)
1. What is the best PMU needle configuration for a lip outline?
For a crisp and defined lip outline, a 1 Round Liner (1RL) is the industry standard. It allows for incredible precision. A tight 3 Round Liner (3RL) can also be used for a slightly softer line or if you need to build the line up with a bit more substance on the first pass.
2. How do you prevent the lip outline from looking too harsh or dark once healed?
There are three keys to preventing a harsh healed outline. First, use a light hand and shallow depth. Second, use the same pigment color for the outline as you do for the shading. Third, and most importantly, blend the color by shading from the line inward, ensuring there is no visible demarcation.
3. Should I complete the entire outline in one pass before starting to shade?
Yes, it is best practice to complete the entire outline with a single, clean first pass. This "locks in" the shape and gives you a clear, approved boundary to work within. Once the full shape is secured, you can then proceed with your shading and build saturation.