How to Tattoo Middle and Inner Lip
2025-06-24 04:47:44
,
Beauty health care
Learn how to tattoo the middle and inner lip safely with expert tools, tips, and step-by-step techniques for beginner PMU artists.
Tattooing the middle and inner lip is one of the more advanced skills in the PMU world but it’s not impossible. With the right tools, techniques, and practice, even beginner artists can master it safely and confidently.
In this guide, you’ll learn exactly how to tattoo the middle and inner lip, what tools you’ll need, which mistakes to avoid, and how to deliver the best results for your clients. Whether you’re new to PMU or leveling up your skills, this article will help you approach these delicate lip zones with clarity and care.

What Makes Tattooing the Middle and Inner Lip Different?
Tattooing the middle and inner lip areas is very different from outer lip tattooing. These zones are softer, wetter, and more sensitive, requiring a lighter touch and more precision.
Key differences include:
- Delicate Tissue: The inner lip has mucosal skin that’s thinner and more prone to trauma.
- Faster Fading: This area comes into contact with saliva, food, and constant movement.
- Higher Pain Sensitivity: Clients often feel more discomfort here than on the outer lips.
- Greater Technical Demand: Ink blowouts, swelling, and pigment rejection are common if technique is off.
Tattooing these areas requires not just technical skill but also extra attention to hygiene, client communication, and healing.
Pro Tip: Use a visual diagram to highlight the outer, middle, and inner lip zones for your clients during the consultation.
Tools & Materials Needed for Inner Lip Tattooing
Using the right tools is key to safe and successful lip tattooing. Here’s what you’ll need to tattoo the middle and inner lip properly:
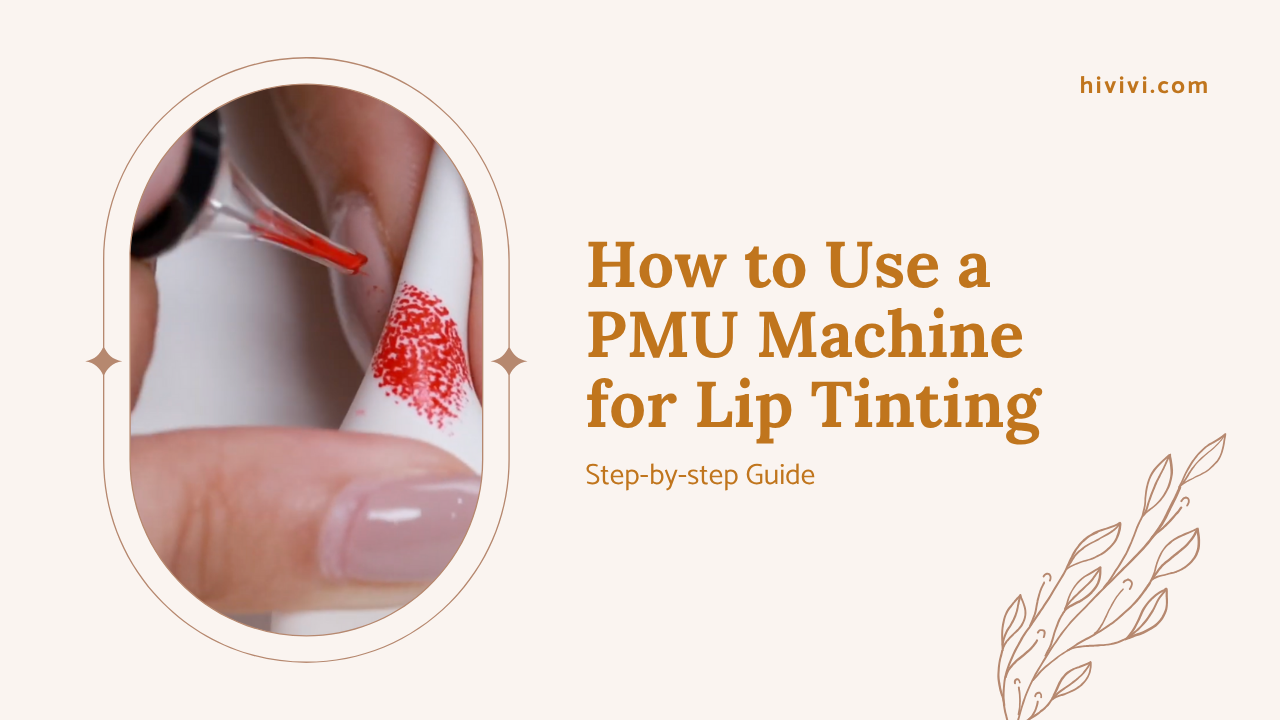
- PMU Machine: Choose a lightweight, low-vibration machine with adjustable speed.
- Needle Types: 1RL or 3RL needles are ideal for precision in sensitive areas.
- Pigments: Choose high-quality organic pigments that are safe for mucosal skin.
- Numbing Products: A topical anesthetic like lidocaine gel to reduce discomfort.
- Barrier Film & Gloves: Essential for hygiene and to prevent cross-contamination.
- Aftercare Balm: Healing ointments specifically designed for lip tattoos.
Make sure all materials are sterile and prepared before your session starts.
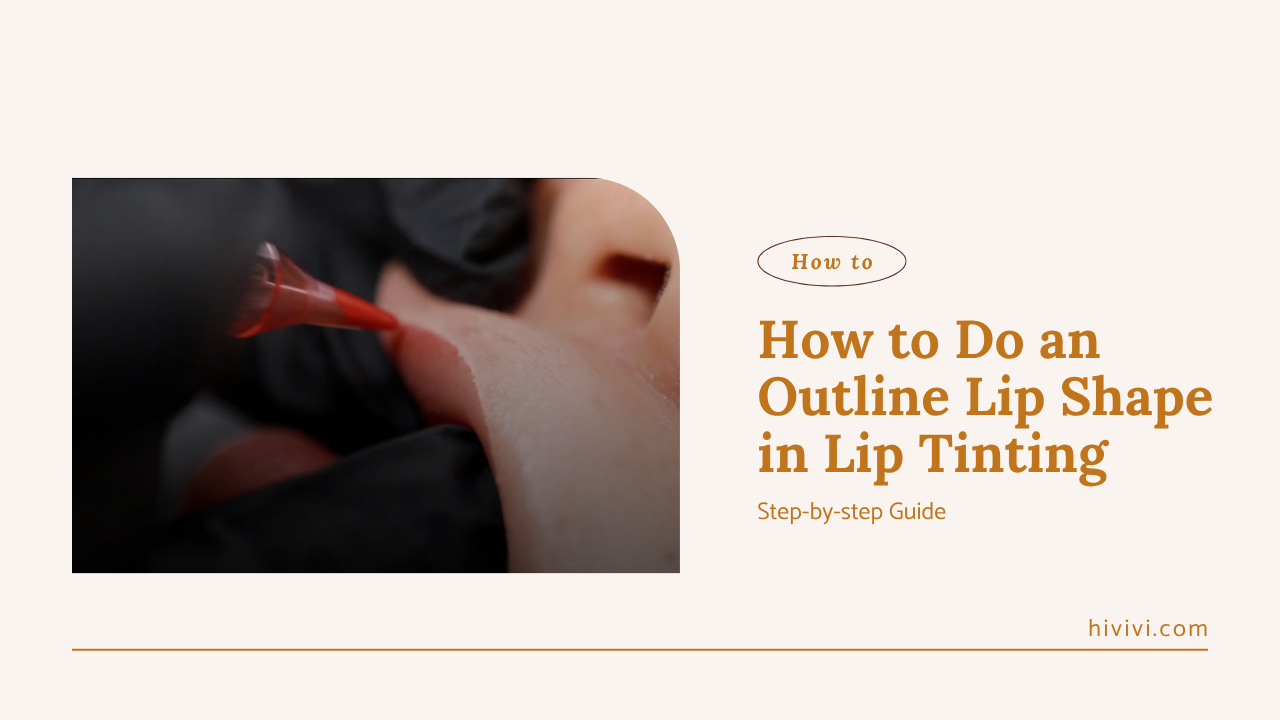
Step-by-Step: How to Tattoo the Middle and Inner Lip
Here’s a simplified, step-by-step approach that beginner PMU artists can follow to tattoo these areas safely.
Step 1: Sanitize and Prep the Area
- Clean the entire lip area with an antibacterial solution.
- Apply barrier film to your machine, power supply, and work area.
Step 2: Apply Numbing Cream
- Use a PMU-safe topical anesthetic on the lips.
- Wait 15–20 minutes for the full effect before starting the procedure.
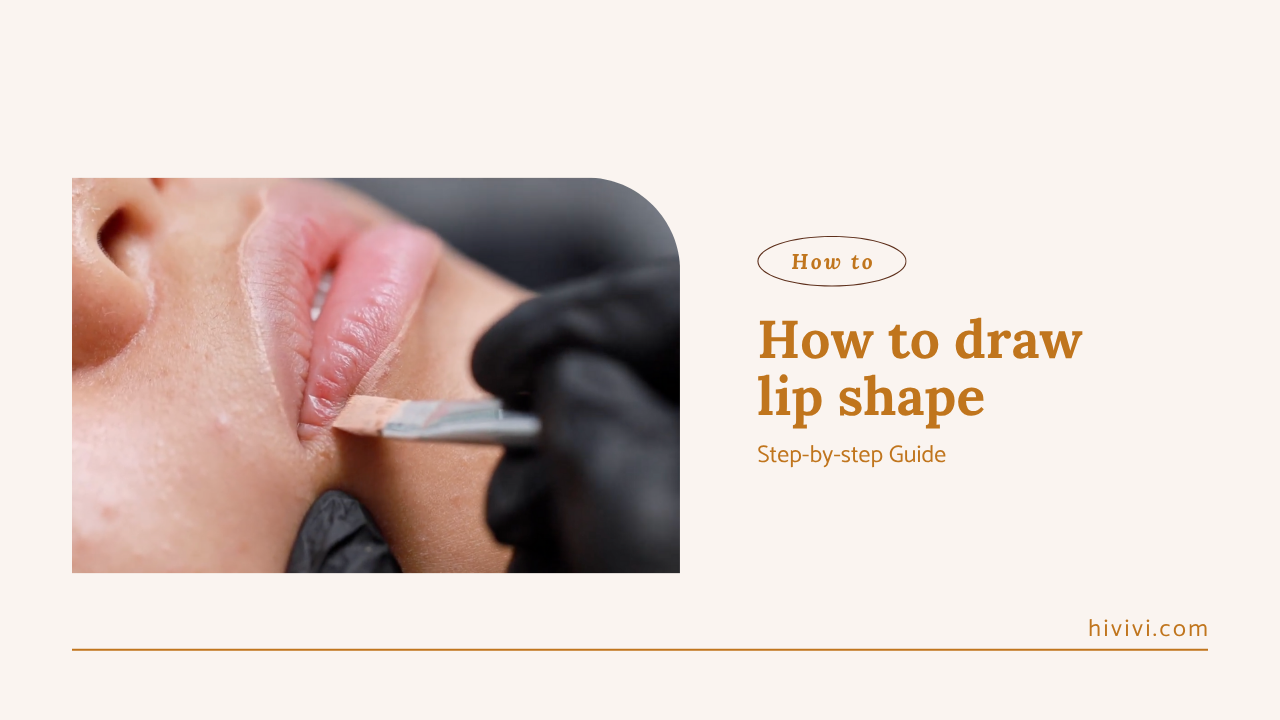
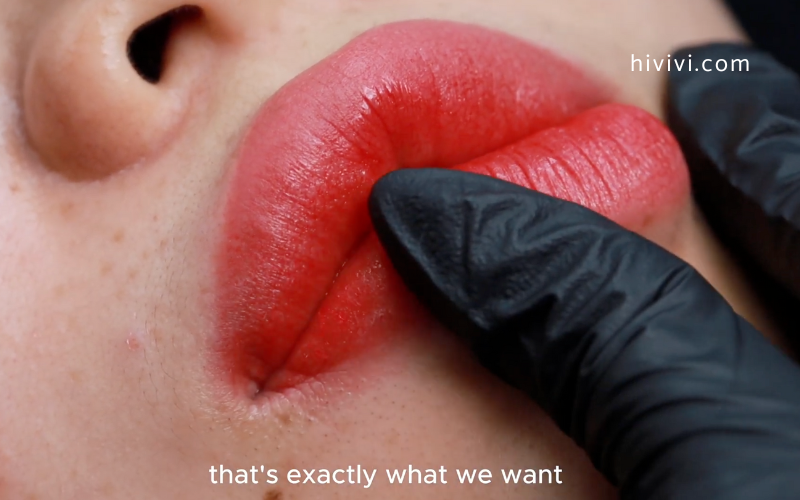
Step 3: Use Proper Stretching Technique
- Gently pull the lip taut from both sides to create a flat, stable surface.
- Keep your gloved fingers dry to avoid slipping and maintain control.
Step 4: Control Speed and Pressure
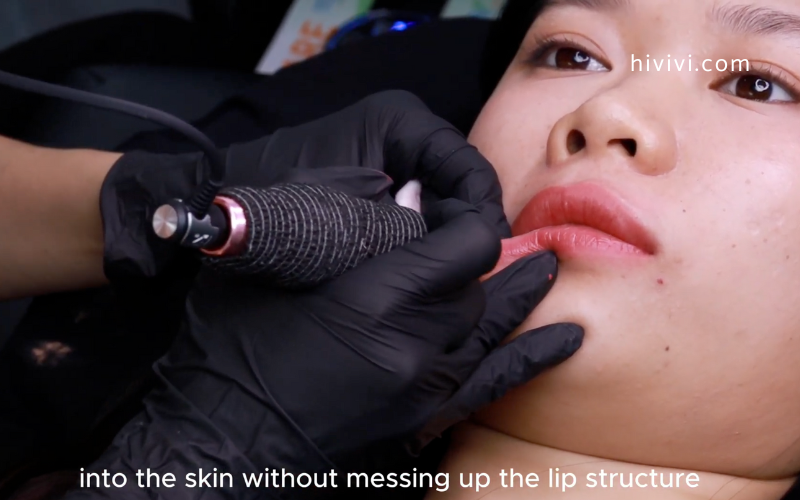
- Use a low machine speed to reduce trauma to the delicate tissue.
- Keep your needle depth shallow and consistent.
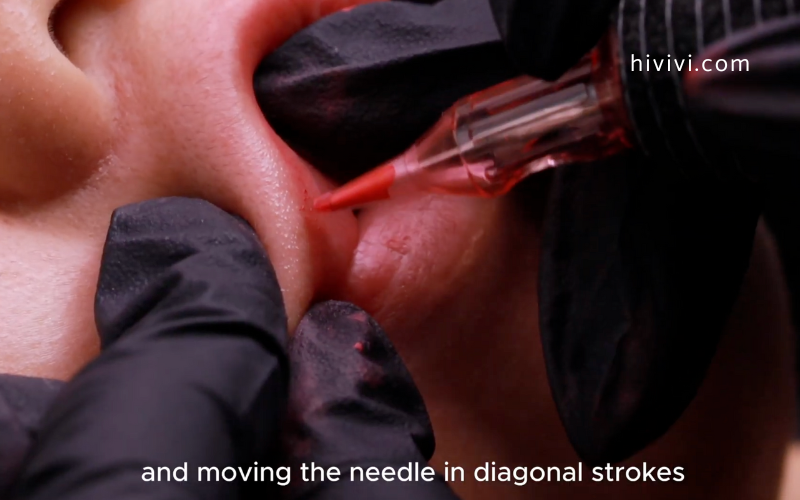
- Use gentle, small circular or pendulum motions to deposit pigment evenly.
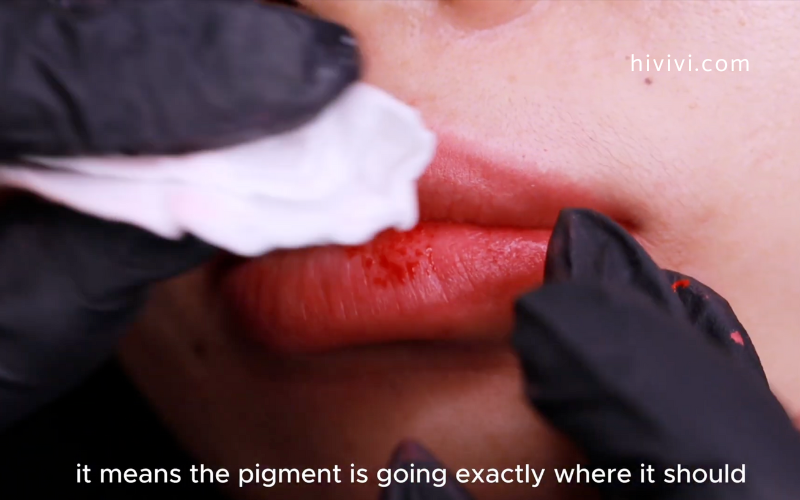
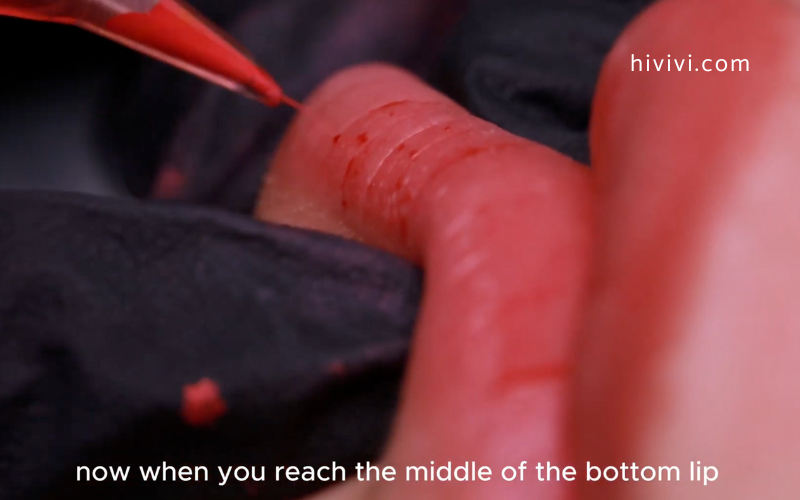
Step 5: Start From the Middle Outward
- Begin in the center of the lip and work your way toward the corners.
- Wipe gently and avoid overworking any single spot. Take breaks if you notice significant swelling.
Common Mistakes to Avoid (Especially for Beginners)
Many beginner artists struggle with inner lip tattoos because the technique feels different. Avoid these common mistakes for better results:
- Overworking the area: This is the #1 cause of excessive swelling, bruising, and poor pigment retention.
- Using the wrong needle size: Needles larger than a 3RL can cause blowouts and unnecessary trauma.
- Going too deep: Mucosal skin is extremely thin—a shallow, controlled depth is key to success.
- Skipping aftercare guidance: Clients need clear, written instructions to heal properly and protect your work.
- Rushing the process: Inner lip tattoos require patience and care. Don’t force it.
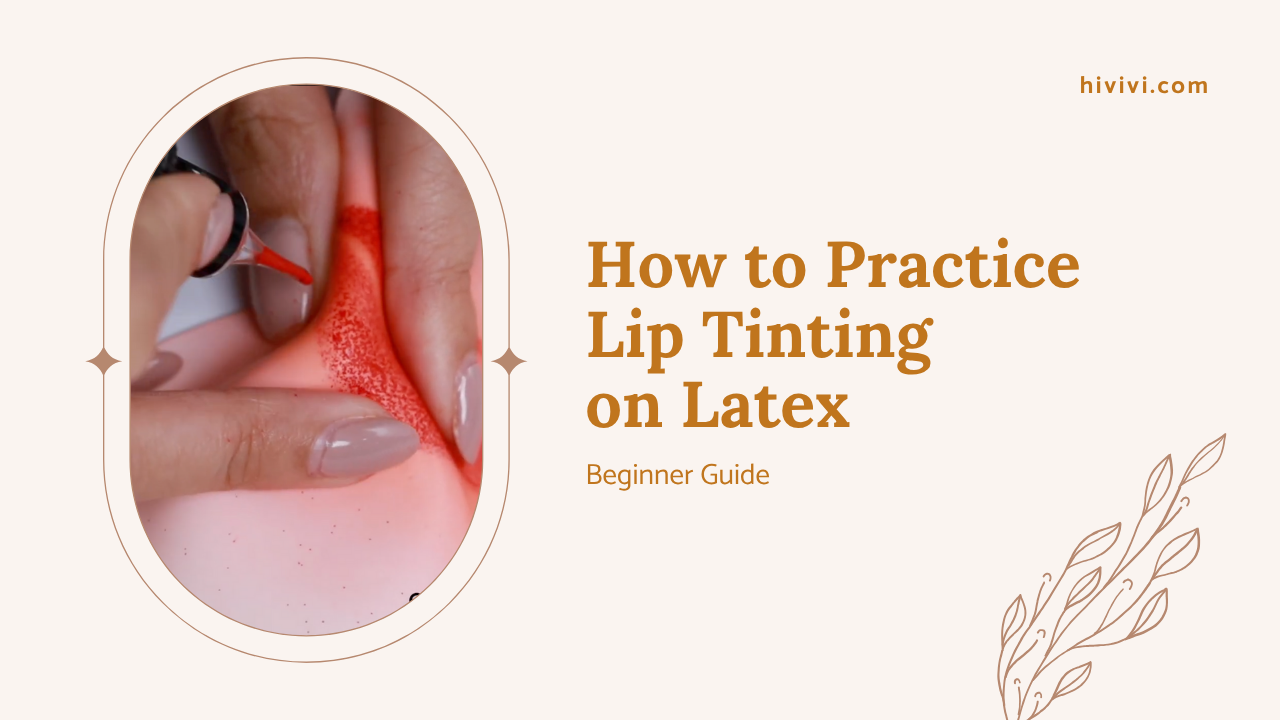
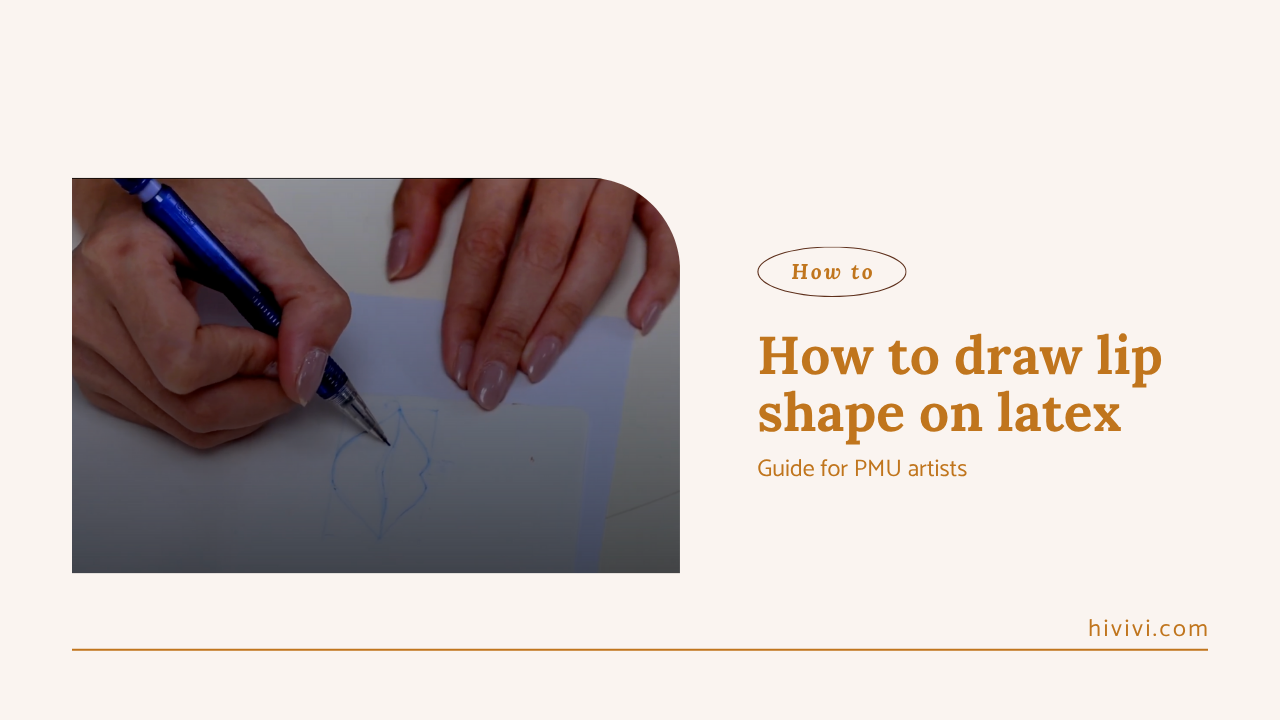
Practice Tip: Use latex practice lips to perfect your stretching, depth, and speed before working on a real client.
Expert Tips for Better Results & Client Comfort
Getting great results from inner lip tattooing takes experience, but these pro tips will help you start strong:
- Manage Expectations: Talk to your client beforehand. Explain the process, pain levels, and expected healing and fading.
- Hydrate the Lips First: A well-hydrated lip surface holds pigment more effectively.
- Limit Pigment Passes: Aim for a maximum of 2–3 passes to avoid trauma.
- Use a Pigment Sealer: A good sealer can help lock in the color and reduce fading during the initial healing phase.
- Expect a Touch-Up: Inform clients that inner lip tattoos almost always need a touch-up session within 6–8 weeks.
Aftercare for Inner Lip Tattoos
Healing for the middle and inner lip is different due to the moist environment. Guide your client carefully through the aftercare process.
First 24 Hours:
- Apply a cold compress gently to reduce swelling.
- Use the provided healing balm every few hours to keep the area moist.
- Avoid licking, touching, or biting the lips.
Days 2–7:
- Avoid spicy foods, smoking, and alcohol, as they can irritate the area.
- Do not exfoliate, scrub, or pick at the scabs.
- Gently pat the lips dry after eating or drinking and reapply balm.
Touch-Up:
- Book a follow-up session for 6–8 weeks after the initial appointment.
- Explain that some fading is normal, especially on the inner, "wet line" of the lip.
Conclusion
Tattooing the middle and inner lip may seem intimidating at first, but with the right preparation, tools, and technique, any PMU artist can build this skill confidently. Take your time, practice on latex skins, and always prioritize client safety and comfort.
Ready to master more advanced PMU skills? Visit our Learning Hub or explore our professional PMU tools to support your growth.
Frequently Asked Questions (FAQs)
What needle should I use to tattoo the inner lip?
A 1RL or 3RL needle is ideal. These small configurations offer precision and cause less trauma to the sensitive inner lip area, leading to better healing and retention.
Is it painful to tattoo the middle or inner lip?
Yes, this area can be more sensitive than the outer lips. However, a high-quality, PMU-safe topical numbing cream is very effective at reducing discomfort and making the procedure manageable for the client.
How long does inner lip tattoo ink last?
Inner lip tattoos fade faster than other areas due to constant contact with saliva and movement. They typically last 1–3 years and will likely require more frequent touch-ups to maintain their vibrancy.
Can you practice inner lip tattooing on latex skin?
Absolutely. Latex lips are an excellent tool for practicing your hand control, stretching techniques, and pressure without risking a client's safety. It’s a highly recommended step for beginners.
What’s the best pigment color for inner lip tattoos?
Use highly-pigmented, warm-toned colors. These are better suited for the natural color of mucosal skin and are less likely to heal with cool or ashy undertones (like blue or grey) over time.